
Are you looking for a way to upgrade your DSLR camera audio recording capabilities? If so, you may want to consider connecting an external USB microphone. Many modern DSLR cameras are now equipped with USB ports that allow users to connect external microphones for improved audio quality and clarity.
I worked as a professional photographer for many years and I can tell you that connecting an external USB microphone to your DSLR camera is definitely worth it. It will provide much better sound quality than the built-in microphones found in most DSLR cameras. This will dramatically improve the audio of any videos or recordings captured with your camera, allowing you to capture more professional results. Now we will discuss that how to connect the external USB mic to your DSLR camera. So without further ado, here’s what you need to do.
The Key to Connecting a USB Mic to a DSLR

After you’ve constructed your gear, you’ll need to connect the audio wires and power the microphone:
- Connect one end of the 3.5mm male-to-male audio cable to the microphone’s 3.5mm headphone output.
- Attach the other end of the 3.5mm male-to-male audio cable to your camera’s 3.5mm mic jack.
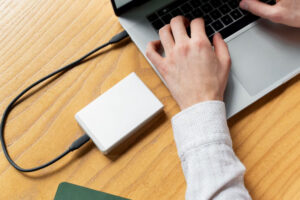
- To power, the microphone, plug the USB cable that came with your microphone into a computer.
How to Prevent Digital Distortion
A USB microphone has all of the characteristics of a typical microphone. It does, however, differ in that it has a built-in preamplifier and an analog-to-digital converter, which enables audio to be interpreted by computer recording software. Because we are not using the computer as the recording device, the microphone’s internal preamp may produce a very high signal, causing digital distortion in your recording. To avoid this, we’ll need to modify the audio settings inside the camera:
- On your camera click the Menu button. As you may have guessed, this is where you can change many settings in your camera, but some options may be unavailable if you are in auto mode.
- From the onscreen menu select “Sound Recording”. This allows you to control the sound recording as Auto, Manual, and Disabled. Change the Sound recording from “Auto” to “Manual” mode.
If you leave the camera on Auto, the Automatic Gain Control (AGC) will automatically boost the volume of the audio, resulting in a lot of buzzing and interference in your recordings.
How to Set Your Recording Levels
If you record audio in your camera at the wrong levels, the sound will be horrible. Here’s how you can change the Recording Levels:
- Select “Rec. level”.
- Using the D-pad or touch screen, move the slider all the way to the left, but this can vary depending on the distance between the subject and the camera. Click “Set” to save.
Now we can control the gain or volume level on your actual microphone. Have your microphone in hand.
- Talk to the camera and monitor the Left and Right audio levels measured in decibels (dB).
- You can adjust the gain directly on your microphone.
The sound should ideally peak in the -12 range, right below the green bar. After that, you’re ready to use your DSLR camera to capture latency-free audio with your external USB microphone.
Are All USB Mics the Same?
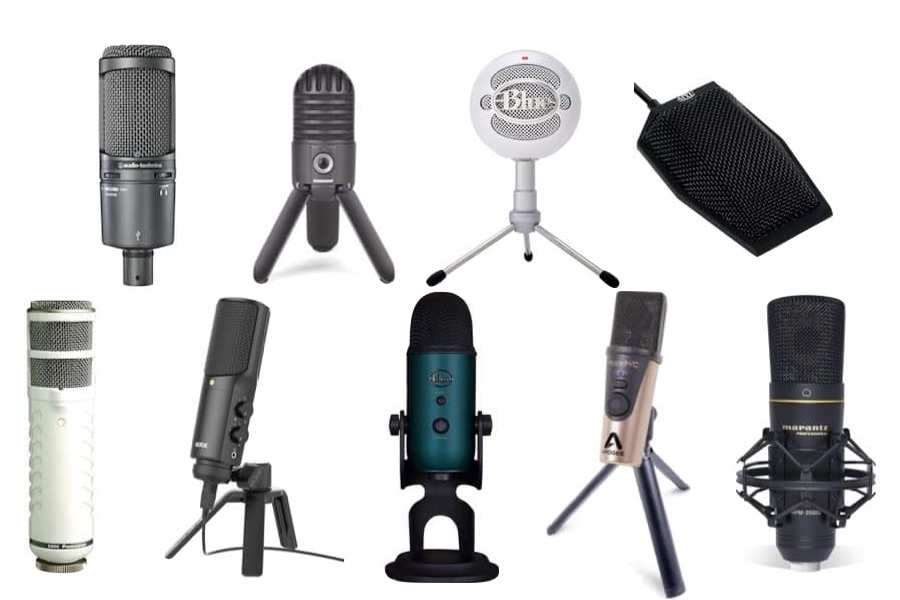
Not all USB mics are created equal. Some are designed for music recording, while others are designed specifically for podcasting or voice-over work. Each microphone has its own set of features and benefits. Additionally, the type of connection your microphone uses will depend on your individual needs.
When selecting a USB mic, make sure to do your research to find the one that best suits your needs.
The three most typical uses for a USB microphone
- Gaming/Live Streaming
- Podcasting
- Music Recording
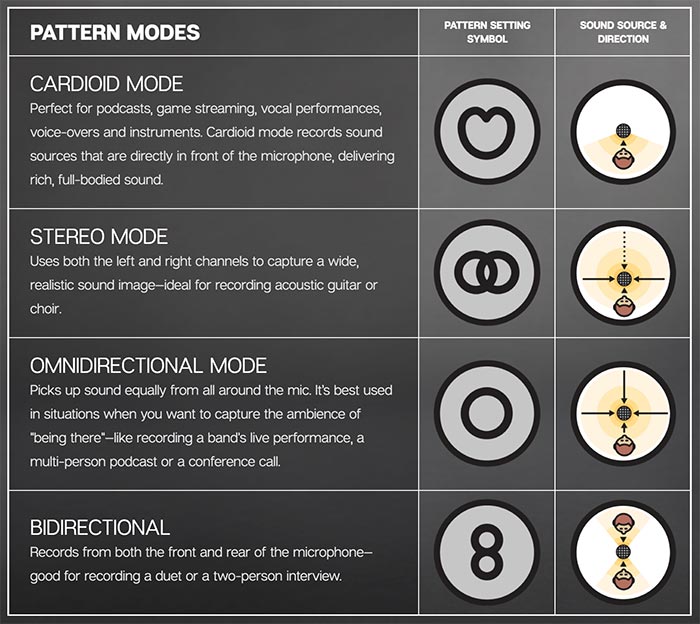
USB microphones feature a variety of properties and possibilities for use. The Blue Yeti USB Microphone, for example, offers a variety of polar patterns to pick from (cardioid, stereo, omnidirectional, bidirectional).
The main distinction is how they use digital signal processing (DSP). DSP can detect and rectify a variety of sound quality flaws in a transmission. Some microphones utilise DSP sparingly, while others use it extensively, and yet others do not use it at all. Knowing the intended use of a USB microphone can help you select which one will best meet your requirements.
Dynamic vs. Condenser Microphone
Dynamic and condenser microphones are the two primary kinds. Both are typically used in music recording but have gained popularity in home studios. They are available with XLR, 3.5mm, and USB connections. Depending on your recording requirements, each offers pros and cons.
Dynamic Microphone

Without getting too scientific, dynamic microphones are long-lasting microphones that employ a diaphragm and a moving wire coil arrangement to take up vibrations from sound waves. These microphones do not need any extra power. These microphones excel in picking up high sound pressure levels (SPL). As a result, they are perfect for artists that need to record from strong sound sources like as amplifiers in outdoor/live recording conditions and are not bothered about distortion.
Best Dynamic Microphones
- Shure SM58
- Shure SM57
- Shure SM7B
- Shure MV7
- Sennheiser e 945
- Electro-Voice RE20
- Audio-Technica BP40
- Rode Procaster
- Rode PodMic
- Sennheiser e 835
Condenser Microphones
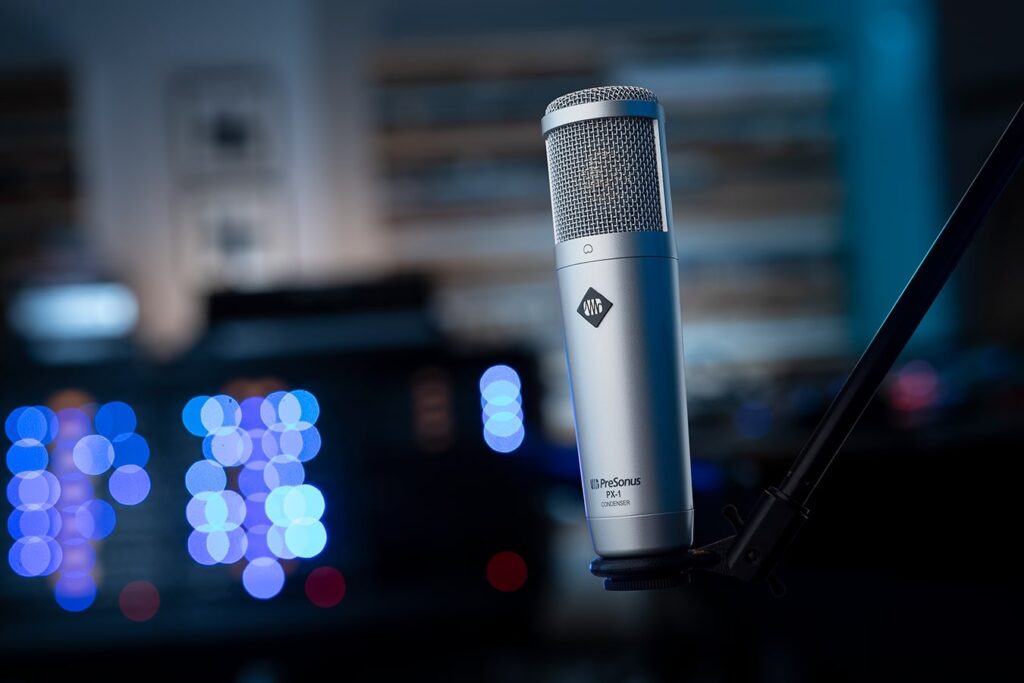
These are sensitive and responsive microphones that take up vibrations from sound waves using a diaphragm and an electrically charged backplate mechanism. Condenser microphones are available with small and large diaphragms and need a power source. Because these microphones do not have moving coils, they provide a wider frequency and transient response. These microphones provide excellent audio quality without the need for a preamp. They’re great for recording voices in a home studio or with stringed instruments.
Best Condenser Microphones
- Rode NT1-A
- Blue Yeti USB Microphone
- Rode NTK
- AKG Pro C214
- Neumann TLM-102
- Blue Spark
- Shure SM27-SC
- Audio-Technica AT2020USB
- MXL 770
- Blue Snowball
In this article, we’ve discussed how can i connect an external USB mic to a DSLR camera and the basics of USB microphones and their uses. Remember to do your research when selecting a USB microphone and make sure it meets your needs. Also, be sure to read the instructions for proper setup and use.
Conclusion
While DSLR cameras are not typically equipped with a microphone port, it is possible to connect an external USB mic to your DSLR camera using an adapter. By doing this, you can improve the audio quality of your videos and recordings. If you’re interested in connecting an external USB mic to your DSLR camera, we recommend that you consult your camera’s manual or speak to a professional before doing so. Hopefully this article has provided you with the information you need to get started. Good luck and happy recording! Thank you for reading. If you have any questions or comments, please feel free to leave them in the comments section below. We are always happy to help!